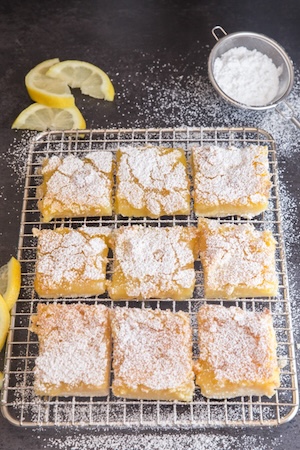
If you want cinnamon twists and schnitzel for dinner – yes, in that order – go for it. Life’s short. (photo by Shelley Civkin)
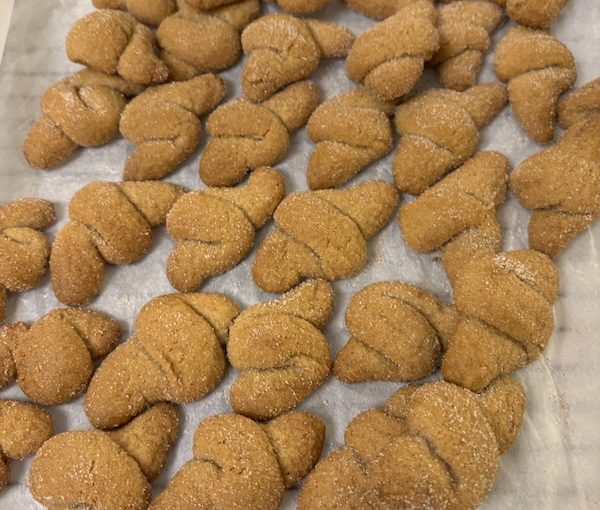
Nothing screams Jewish baking quite like kichel (aka nothings), kuffles and rugelach. Unless it’s cinnamon twists. My friend Debbie graciously brought over a fabulous selection of her pastries one day and I immediately fell in love with her Bubby Florence’s Twists (aka cinnamon twists). Begging for the recipe, Debbie offered to show me firsthand how to make them. Naturally, I jumped at the chance.
We had a bake-a-palooza date, banished our hubbies (they went out for brunch), donned our Donna Reed aprons and got to work. We made two different kinds of cookies that day: cinnamon twists and shortbread. Both über-yummy. Full disclosure: no calories were spared in the making of these treats.
I’m still getting used to my new induction stove and convection oven, so there continues to be some trial-and-error involved. I know that my oven underheats by 10 to 15 degrees, so I cranked up the temp. The cookies turned out a bit darker than Debbie said they should be, but they were perfect for me. I’ll let you decide what to set your oven at, but the recipe calls for 350˚ F.
CINNAMON TWISTS
1 cup brown sugar
3/4 cup canola oil
3 eggs
2 tsp baking powder
1/2 tsp baking soda
3 cups flour
1/2 cup white sugar (approx.)
2 tbsp cinnamon
Mix the brown sugar, oil and eggs in a large bowl, and mix the baking powder, baking soda and flour in another bowl. Add the dry ingredients to the wet ingredients and then put the mixture into the fridge for about one hour. (This is just a rough guideline.) After it’s chilled, form the batter into little “logs,” about the size of your baby finger, but slightly longer.
On a flat plate, mix the white sugar with the cinnamon. Roll the “logs” in the cinnamon and sugar until they’re well coated, then twist them into little twisties.
Bake at 350˚ F on a parchment-lined cookie sheet till the cookies are golden brown, approximately 20 minutes. Remove them onto a wire rack to cool – pour yourself a glass of milk and stuff your face until you feel like you’re going to explode. Wait an hour, then repeat. The recipe makes approximately 58 cinnamon twists. They freeze beautifully and they’re super-delicious with all that cinnamon sugar adorning them. Dipping in milk, coffee or tea is also recommended.
DEBBIE’S SHORTBREAD COOKIES
1 cup butter or margarine (I used vegan)
1/2 cup icing sugar
1/2 tsp vanilla
2 tbsp cornstarch
2 cups flour
Cream together butter or margarine and icing sugar. Add vanilla, cornstarch and flour, mixing for three to five minutes. (You can refrigerate the dough at this point if you want to make the cookies the next day. Up to you, but not necessary.)
When ready, spoon out half tablespoons of the dough and roll them into small balls. Place on a parchment-lined cookie sheet and flatten with a fork.
Bake at 350˚ F until golden brown on top, 15 to 20 minutes. Cool on a wire rack.
Could it get any easier?
After our bake-a-palooza was over, we sat down with a big glass of milk for me and a strong cup of coffee for Debbie, and gorged ourselves silly. Soon after, our hubbies got home from their male-bonding experience over panini and lattes. Laying their eyes on the bounty before them, they forgot they were stuffed from lunch. Need I state the obvious? Within seconds, each of the guys had wolfed down at least four of each cookie. And, once again, said they were stuffed. That lasted for 15 minutes. Our 100 cookies soon became dozens fewer. My friend’s suggestion for how to ensure that our husbands don’t eat the rest of the cookies in the future is to put them in a white container in the freezer and label it “Calf’s liver.” Pretty clever, don’t you think?
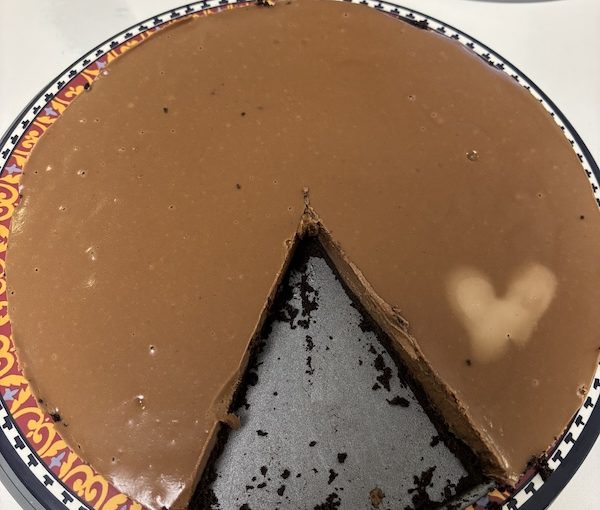
My next act was to make a recipe I found on Instagram by Shanie Amir, called Crispy Oven-Baked Eggplant Schnitzel. Simple, scrumptious and sort of healthy. Not.
CRISPY OVEN-BAKED EGGPLANT SCHNITZEL
1 eggplant
2 eggs
1 tbsp mayonnaise
1 1/2 cups golden breadcrumbs (or Panko)
salt & pepper
In a bowl, whisk the eggs and mayonnaise together.
Slice the eggplant into half-inch rounds and peel it so stripes of the skin show. Season lightly with salt and pepper.

Dip each slice of eggplant into the egg mixture, then coat them well in the breadcrumbs. Put the pieces on a parchment-lined baking sheet, spraying both sides with avocado oil.
Bake for 25 to 30 minutes at 400˚ F, flipping halfway, until golden and crispy. Make a dip to go with it. I like Ranch dressing, but a tahini dip would be delish. You’re welcome.
On a completely different note … I turned 70 years old awhile ago, and I’ve finally reached the stage of life where I’m gaining some perspective. I grew up with a mother who always told me to “Save it for good,” which translated to “Save it for when you go out somewhere fancy” or “Save it for when you have a nice dinner party” or “Save it for when you lose some weight.”
“Save it” was an exhortation to be careful, be cautious, be thrifty and, most of all, be scared of living in the moment, be scared of having too much fun, of throwing caution to the wind. As a result, I have fancy clothes in my closet that I’ve never worn, because I’ve been “saving them for good.”
I finally have realized that “good” means now. I don’t have to wait to go somewhere fancy just so I can wear my new dress. If I want to, I can wear it out grocery shopping. Turning 70 means not waiting for a better day. Today is the best day – for anything and everything.
I think I’m going to wear my fancy white blazer tonight. Because I can. And, if I feel like eating cookies, and eggplant schnitzel with dip for dinner, I will. Turning 70 has its advantages. My advice to you is this: have fun now – this is not a dress rehearsal!
Shelley Civkin, aka the Accidental Balabusta, is a happily retired librarian and communications officer. For 17 years, she wrote a weekly book review column for the Richmond Review. She’s currently a freelance writer and volunteer.