As I always do in anticipation of needing an image for the Jewish Independent’s Passover issue, I started with an internet search. This Passover, I was led to creativejewishmom.com, which features creative projects parents can do with their kids. The Crossing the Red Sea Kid’s Craft captured my imagination. Not one to let the lack of children in my immediate vicinity stop me, I collected the materials necessary and learned to use a glue gun. Through the generosity of a few friends, I didn’t have to buy anything to make the diorama on this issue’s cover.
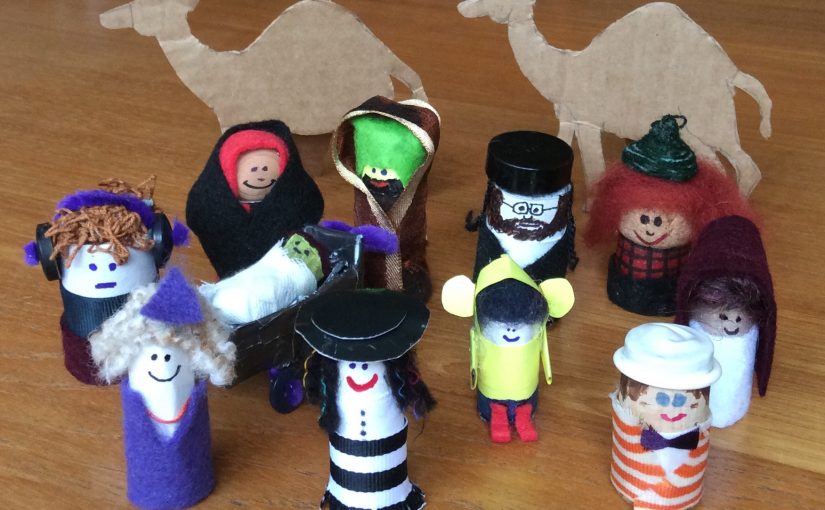
To capture the notion that, in every generation, we are to regard ourselves as if we personally left Egypt, I created a variety of Israelites, from Moses, Miriam and Aaron leading the group, to a Middle Eastern family from an indeterminate era to a 1920s dandy, a Mary Poppins-inspired woman in a fancy black hat and a Chassid. A teen wears headphones, a toddler wears a mouse-ear raincoat and a girl in a wheelchair negotiates the streambed with the help of a Beatnik.
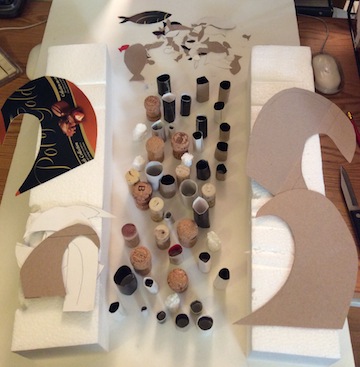
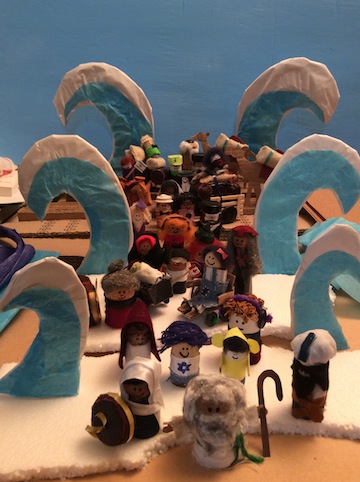

The project took hours. The logistics of taking a photo that would fit within the parameters of the newspaper’s cover took almost as long to figure out as did the creation of the 29 Israelites, two load-carrying camels, two carts full of supplies, six waves and one streambed “staircase.” The wooden donkey near the back of the image is the only figure I did not make – JI production manager Josie Tonio McCarthy donated it to the effort; she bought the carving on a trip to Israel and we both thought it was appropriate to include, as the travelers’ destination is, of course, the Promised Land.
Wishes for a healthy and meaningful Passover, and a chag sameach.
Just a reminder: The Jewish Independent is now on a publishing hiatus. Our next issue will be April 24 or May 1, depending on the COVID-19 situation. Email editor@jewishindependent.ca with story ideas and sales@jewishindependent.ca for ad bookings.